Author Archives: linda

Hot Weather Snacking

Today’s weather, hot, sticky with a chance of lightening, thunder & rain… a great day for cooking  inside in an air conditioned daycare!

We headed to our garden way before rain arrived to pick some Kale & turn it into :

KALE SMOOTHIES

  • Bananas
  • Frozen blueberries
  • Chobani  plain yogurt
  • Orange juice
  • Kale leaves with veins removed
  • Put all in a blender and turn into a smoothie
  • Delicious… would we do it again YES!!

(Experiment with other fruits) 

PRETZELS
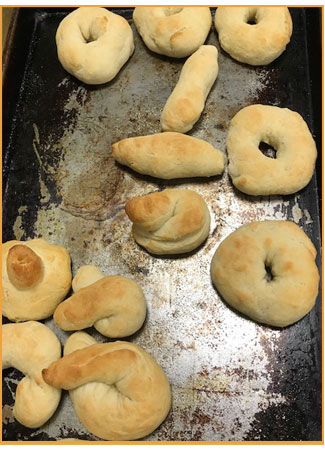
We have made pretzels before & “The Little Peeps” love it!

Easy to make. One recipe is enough for 4 kids to get a hunk of dough which  they pat, roll, twist or shape anyway they choose. 

  1. Heat oven:  425 degrees
  2. In a medium bowl dissolve 1 teaspoon yeast in 1/2 cup warm water
  3. Add:  1 teaspoon honey and 1 teaspoon salt
  4. Add: 1-1/3 cup flour
  5. Knead & then divide equally & pass out to the kids. Give them a bit of “how to” & then leave them to create
  6. Brush with a a beaten egg.
  7. Bake 10 minutes

I read to the children each week, but today it just felt like the best thing to do on a Sweltering Summer’s Day.

A Spring Walk

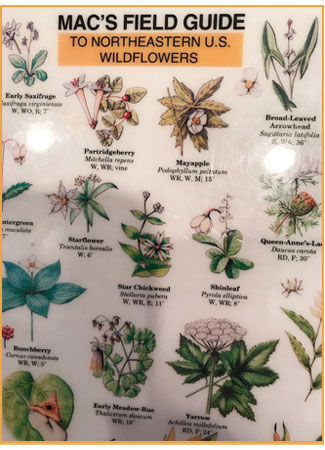
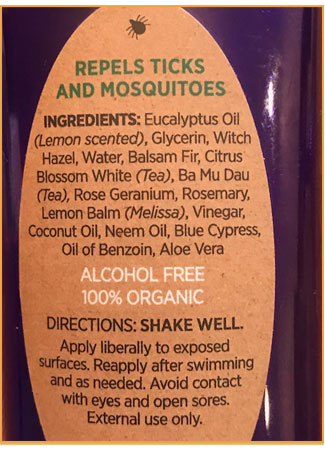
Friday was a great day to be outdoors for a walk. I brought with me a laminated card  which depicted wildflowers found in the northeast.BEFORE going for our walk, the children donned their long white “walking socks.”  Everyone was sprayed with a natural tick deterrent which I found at Conley’s Pharmacy in Ipswich. 

First, we went to our garden to check out our produce and to nibble on Kale.

I was pleasantly surprised, as the children were totally engrossed in finding wildflowers. I took photos of each Wildflower  with the intent of identifying them. We will display them in the back of the classroom along with each plant’s name and flowering time. Very lovely day filled with engrossed energetic children.

NOTE: We stop TWO DIFFERENT times when we walk and each child is checked for ticks & socks are sprayed with the 100% organic insect repellant.  At the completion of our walk, each child is checked BEFORE entering the classroom.


Vitamins 4 Plants

We spent our time today learning about the importance of COMPOST.  

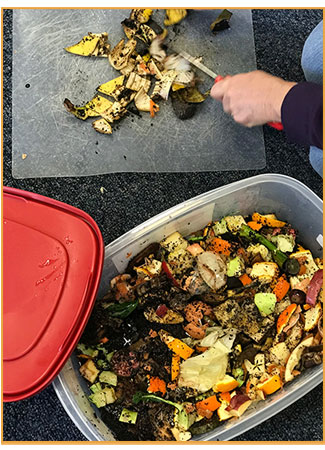
All week long we gathered vegetable & fruit peels at the day care. Ditty brought in coffee grounds and egg shells to augment our “treasure trove.”

Outside we went to the “Big Garden” to “borrow” dirt  to incorporate into the compost.COMPOSTING RECIPE

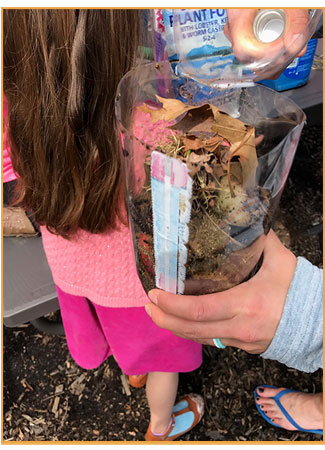
Start with a large Clear empty plastic bottle. (I used 4 large seltzer bottles.)

Take an exacto knife & cut AROUND  the bottle, one third down from the top. Leave about one quarter to act as a hinge.

Layer soil, leaves, grass, our “kitchen- pickins “ & some organic fertilizer sprinkled on top. Keep making layers & when you get to where you made the cut stop. 

Take some masking tape and secure the two bottle pieces along the severed edge.

Turn the bottle & place in a sunny spot & turn each day for about a month or when all has decomposed and is ready to use.

A GREAT TIME WAS HAD BY ALL!!!!!

It’s Spring!

It is SPRING  and we are TOTALLY ABSORBED into the season.

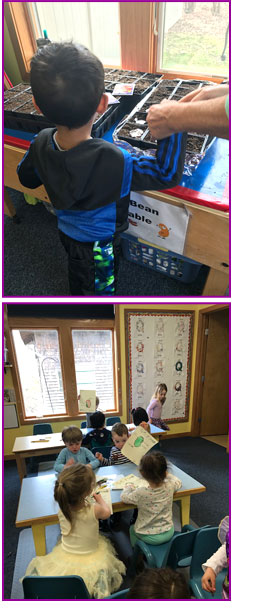
We started our flowers last week and they are “looking good.”

We gathered at the whiteboard to talk about Spring & to comprise list entitled:  SIGNS OF SPRING.

1) Emerging leaf buds/flower buds

2) Birds returning to nest

3) Skunk cabbage

4) The earth warming

5) Longer daylight

6) The sweet fresh smell in the air

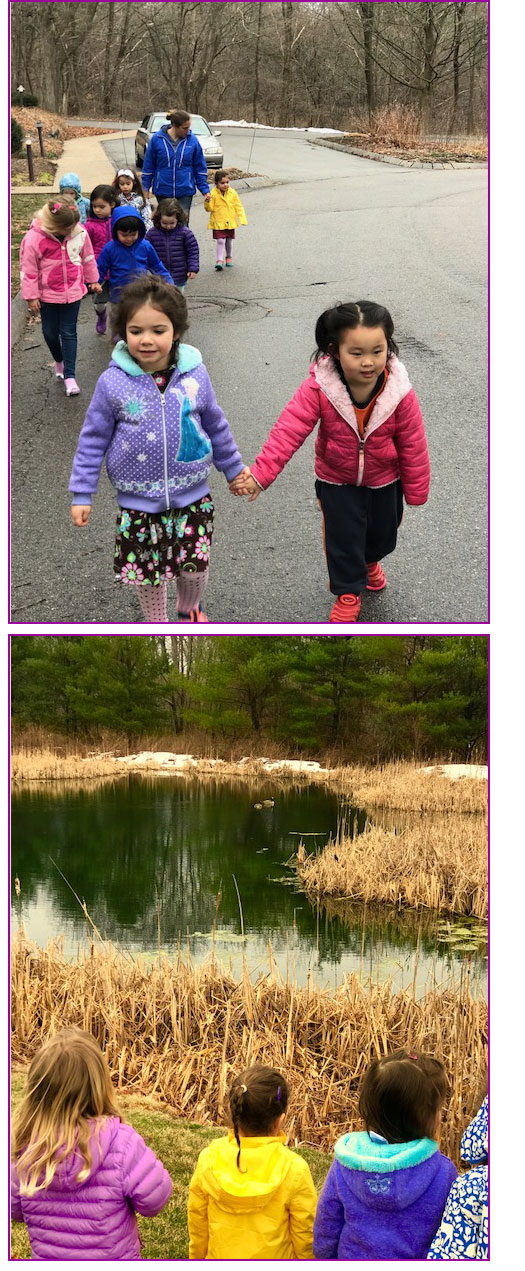
We headed outside, down through the wetlands and notice first-hand the telltale signs of spring. YUMMY.

Back inside, we sampled dried kiwi & apricots along with Gouda & blue cheese served with rice crackers.

Mixed reviews about the blue cheese but I expected that.

I am a BIG believer in introducing children to different foods. Take ONE bite & if you don’t like it today, you might someday but it is OKAY!

I have been volunteering with the children for 9 years and I am truly blessed.

Ditty Days has a website, dittydays.org.

Look it up and give us a LIKE PLEASE!!!!

…………….HAPPY SPRING YA’LL……………….


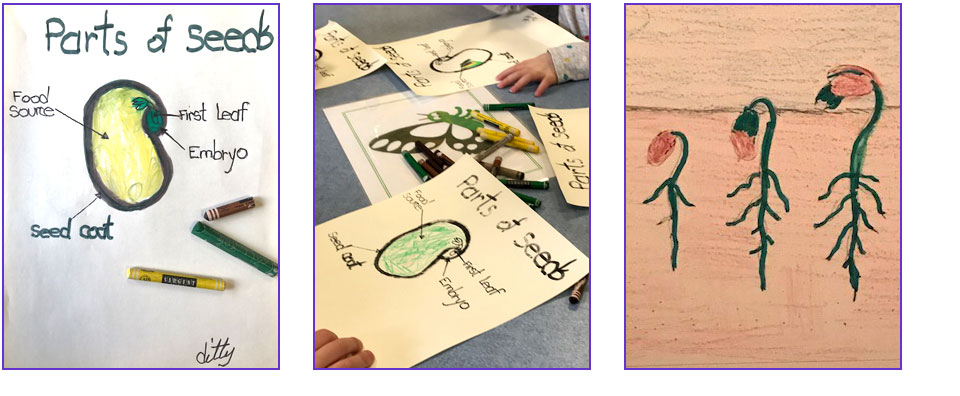
Parts of Seeds


Today, since we are planting seeds, we will learn about seed parts. It is a lot easier with diagrams to color. 

What happens to the seed once it is placed in soil? 

  • First, roots appear, the plant takes hold & grows upward. 
  • It then develops its first true set of leaves which are called cotyledons. 

The process is known as germination.

Remember: read the instructions on the seed pack. 

The BEST PART is SHARING an activity with your children. 

a GOOD Friday

The Friday before Easter WAS a GOOD FRIDAY.

When I arrived at the daycare “The Little Peeps” were so very excited to take a walk. My friends and I hadn’t stretched our legs all winter. It is sweet to have everyone find pleasure in simple pursuits. 

We walked the property, stopped and watched a pair of ducks on the pond and all the while the air was punctuated with lyrical voices & giggles. 

Back at the daycare, I showed the kids how to strip kernels of corn from the husk.

We had grown the corn in our garden specifically for POPPING!!!  IT WAS THE BEST POPCORN EVER!  

It feels real good to plan something & have it turn out. ….YEAH!


PARTS OF TREES: Lesson III


The last two weeks we have learned about: parts of flowers, butteries, & today PARTS OF TREES.

We started with a diagram of a tree done in black  & white. I next labeled key parts of the tree. Copies were made and handed out to all. Now the fun begins !!

Ask a QUESTION  & ALL SORTS OF ANSWERS start emerging.

AHHHH… This is what I am looking for…  Nothing like a “CAPTURED AUDIENCE.”

Proceed to your table, color in the diagram, followed by a “ hands on project” which supports our “Topic  For The Day.” (I had a ball thinking up this one!)

Listen up EVERYONE! We are going to make a tree using edibles okay?

SUPPLIES:

  1. Sheets of foil
  2.  Sunflower seed butter-spread on foil ( glue)
  3. Graham crackers- tree trunk
  4. Licorice-roots
  5. Pretzel sticks- branches
  6. Green gum drops sliced- leaves

I am realizing as time goes on, that when I plant creative thoughts With The Little Peeps , they want to “DO THEIR OWN THING!”

I applaud AND encourage this 100%.

In the final analysis, BEING MINDFUL requires me to tap BOTH HEMISPHERES & that is where we  are every Friday!!

We are having  a TOTAL BALL!!

Butterfly Parts

THIS WEEK’S TOPIC: BUTTERFLY PARTS

I had a lesson plan.

  • Insect books to share with “The Little Peeps”
  • A drawing of a butterfly, Names of body parts included
  • June’s Play Dough
  • Butterfly “cookie cutters”

Our day starts with a “meet & greet”, which I find, gets ALL OF US thinking in unison. Sharing stories of the week etc. with the person that is speaking, taking the floor.” Everyone else, listen please. Next, it is my turn to introduce them to WHAT we will be doing this Friday & HOW we will go about accomplishing our

OBJECTIVE

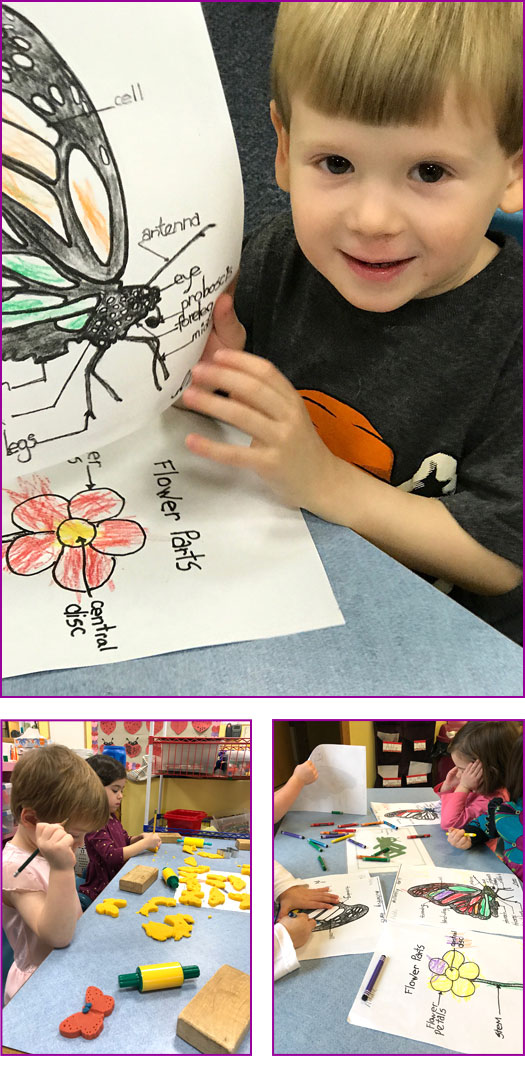
I showed them the drawing I had done of the butterfly parts & we talked about it. EVERYONE was animated & had questions & were engrossed. My thought: EVERYTHING is made up of parts. SOOOOOO.. start with the basic parts , not to confuse, not to overwhelm,

But just enough to “wet the learning whistle.” 

We headed to our tables where each “Little Peep”colored a Monarch Butterfly.

Then, the kids were handed play dough, a rolling pin, & a butterfly cookie cutter. GREAT STUFF, homemade play dough.

“Well,” I thought, “let’s take a pencil & use the point & press it into the dough to leave marks. Don’t forget the eraser for eyes !!”

Learning is fun!!!

FACTS

  • Birds DO NOT eat Monarch Butterflies
  • As they taste BAD (that is because the caterpillars eat milkweed!!)

“The Whole Is More Than The Sum Of Its Parts” ~ Aristotle

One thing I do know.. It requires a GREAT DEAL of thought to take a subject and break it down to  “bare bones.”  Then you reassemble it in your mind & try it out on “The Little Peeps.”

This past week we studied flowers. We talked about  stem, petals, and the central disc.

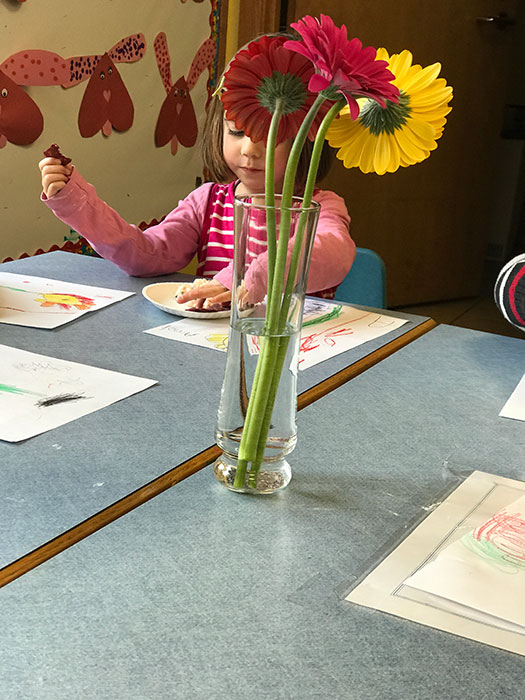
On each table I placed an arrangement of Gerbera Daisies with instructions to draw with pencil & then add color using crayons.

I LOVE HEARING “ I can’t do this “OR “ I don’t know how.” In “no-time” my friends were drawing BUT MOST IMPORTANTLY THEY WERE OBSERVING THE PARTS OF THE FLOWER!!

I was thrilled!

Building a Warm Winter Home

WinterWarmLet’s ALL build a house to stay “winter warm”.

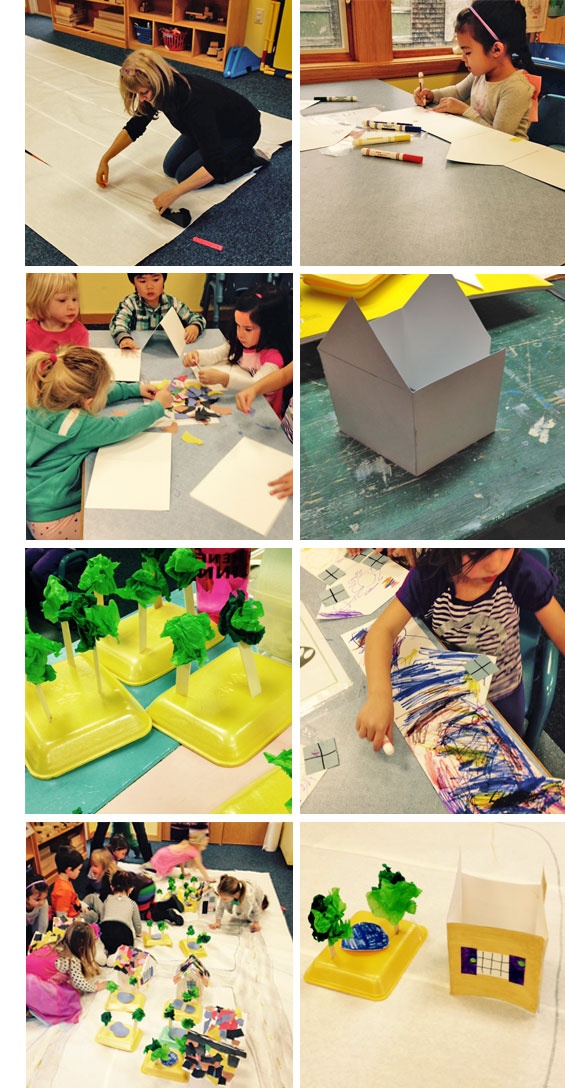
I created a template from Bristol paper. Each child had their very own house to color. Windows and doors were applied using construction paper.

Styrofoam meat trays were used to hold trees made of crunched up tissue paper.

Paper was taped together, roads were drawn, house lots were included, roofs were added, and so were trees.

This week’s project required a concerted effort by ALL and had a number of components, but we completed it.

The room was ABLAZE with creativity!!!

What a GREAT GANG!